Whitelist
Selecting the Whitelist tab presents you with a list of whitelisted senders.
For each message in the queue, you are shown the Sender, Date/Time added, Owner (recipient) and recipient's Domain:
Figure. Whitelist tab.
| Field |
Description |
|---|---|
|
Sender |
Specify a sender's address here to show only messages from that sender. Click the Refresh button after entering the information. |
|
Owner |
Specify an owner's (recipient's) address here to show only messages destined for a particular address. Click the Refresh button after entering the information. |
|
Domain |
Specify a domain name here to show only messages for a particular domain. Click the Refresh button after entering the information. |
|
Max Items |
Specify a non-zero value here to limit the number of messages displayed. Click the Refresh button after entering the value. Note: The higher the value, the slower the list is populated. |
|
Refresh |
Click this button to refresh the list, taking into account any filters you have entered. |
|
Add |
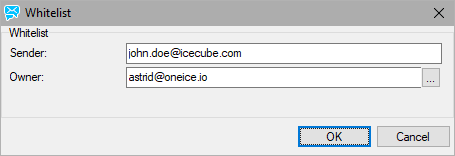
Click this button to add a user to Whitelist. The Whitelist dialog will open, enter the Sender and Owner details:
Sender - the address to be whitelisted. Note: The email From header is to be used here. Owner- the owner of the rule. You can specify:
Use the '...' button to open the standard Select Item dialog. |
|
Whitelist |
Click this button to have the selected sender(s) moved to Whitelist useless here. |
|
Blacklist |
Click this button to have the selected sender(s) moved to Blacklist. |
|
Deliver |
Non-functional button here. |
|
Delete |
Click this button to have selected sender(s) deleted from Whitelist. |