Post-Migration
Step 1: Back up your files
After the migration is complete, back up the exchange-journal.mig file and the LOGS folder (for analysis or future reference) from the Migrator directory — for example, C:\Migration.
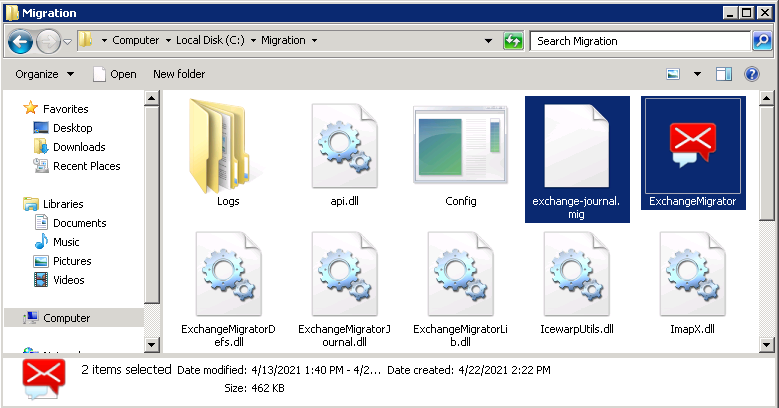
Figure 1. Files to back up after completing the migration (exchange-journal.mig and Logs folder).
Why is this step important?
-
The
exchange-journal.migfile keeps a record of all data that has already been migrated and its corresponding locations. -
It enables incremental (delta) migrations without duplicating data.
-
If this file is missing or copied incorrectly, the incremental migration may cause duplicated emails or data.
For incremental migrations (such as those using a revised scope or timeline), place the exchange-journal.mig file back into the Migration Tool folder and rerun the migration.
If you’re migrating a different set of users, remove the logs of previous runs from the folder (create a backup first if necessary), and start a new migration instance.
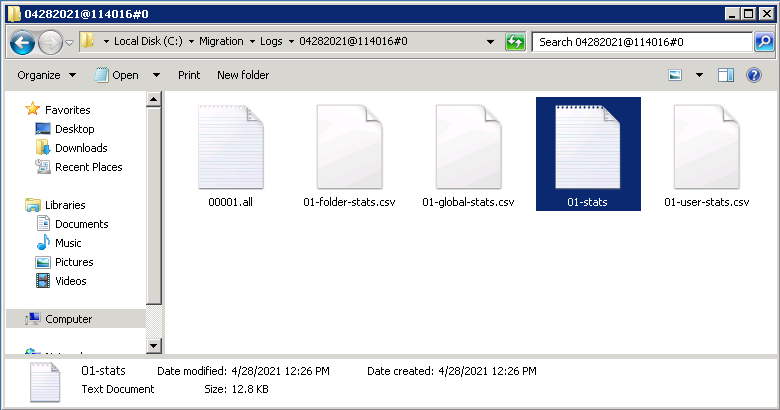
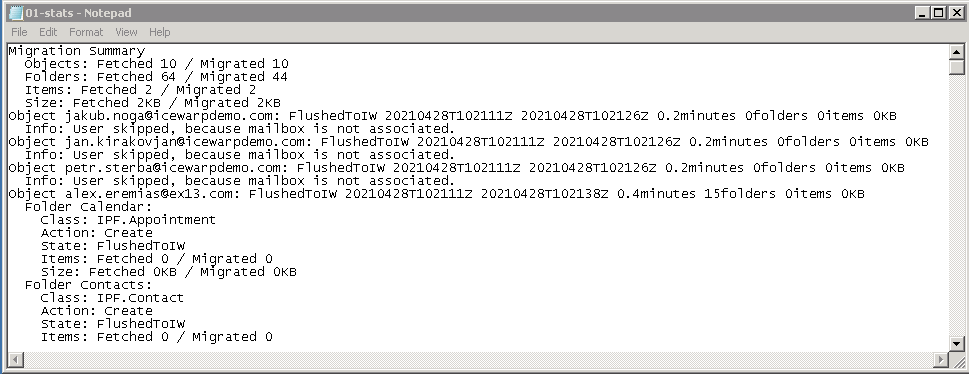
Stats text file
The detailed migration summary is stored in a text file inside the Logs folder.
Step 2 – Reset all passwords
After the migration is complete, the system generates new passwords for all email accounts.To finalize this step, open the Administrator Password Reset options window to enable the password-reset feature for users. Then, users can follow the process described in the Forgot Your Password guide to change their passwords and sign in.
Step 3 – Check your data
Check that all users and their data were transferred successfully. To do this, open both the old and new systems side by side and verify that the information displayed matches.
Step 4 – Repeat the migration
Run the migration again — even if no issues were detected during the first run. This ensures that no new emails or data received during the initial migration are missed.
Step 5 – Update your DNS settings
On the day of the switchover, update your domain’s DNS records so that all new emails start arriving in IceWarp.
-
For on-premise servers, see DNS setup for on-premise IceWarp
-
For cloud deployments, see DNS setup for IceWarp Cloud
Step 6 – Run a final sync
After updating your DNS settings and switching to IceWarp, perform a final migration to synchronize any emails or data received since the previous run. This ensures that all messages — including those delivered during the switchover — are included.
Afterwards, review the transferred data again, and if needed, rerun the migration.

