In Mail you can customize your emails, attachments, archiving or translation.
Mail section consists of the following items:
Read
Set the conversations and read message behavior, select font for messages, and organize your message list.
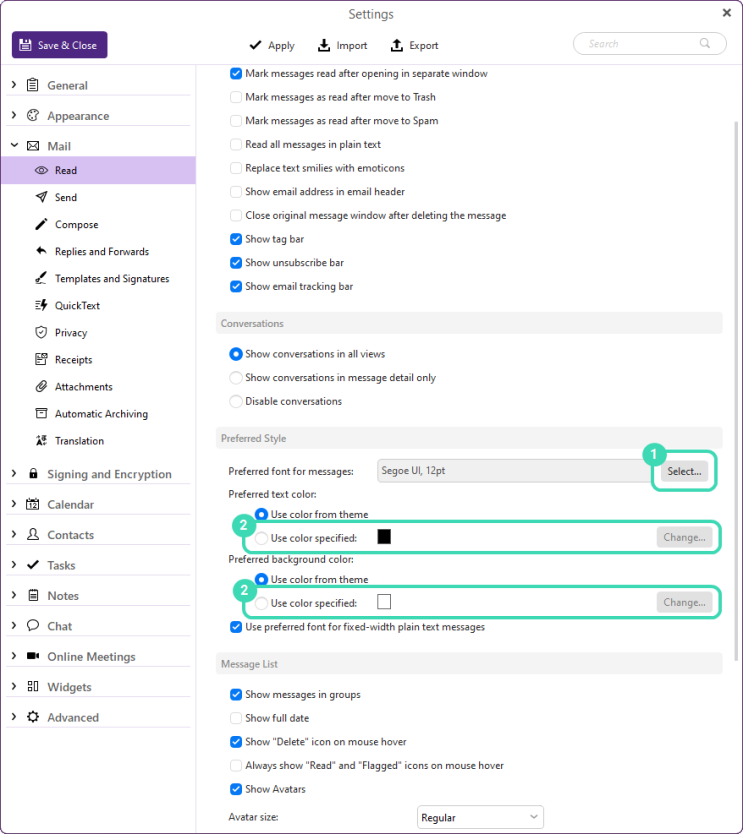
Figure. Read item.
-
Check the relevant checkboxes to set the message behavior.
-
Click Select
 to choose the font for messages.
 -
Check Use color specified:
 and click Change to select a text color and background color.
 -
Check the relevant checkboxes to set the view of your messages in the list: in groups, with avatars, use compact layout.
Send
Set the way how to send your messages.
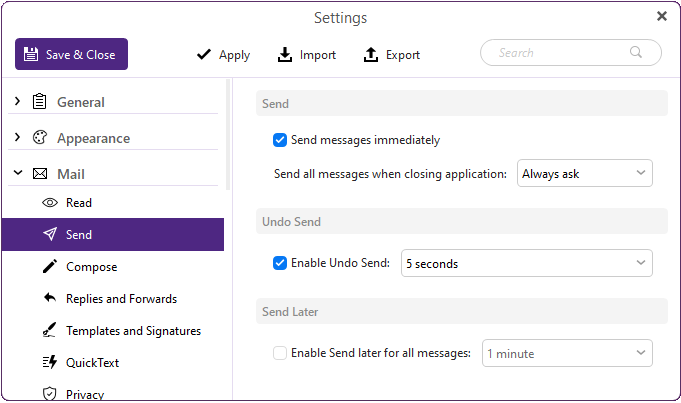
Figure. Send item.
Compose
Facilitate process of email composing.
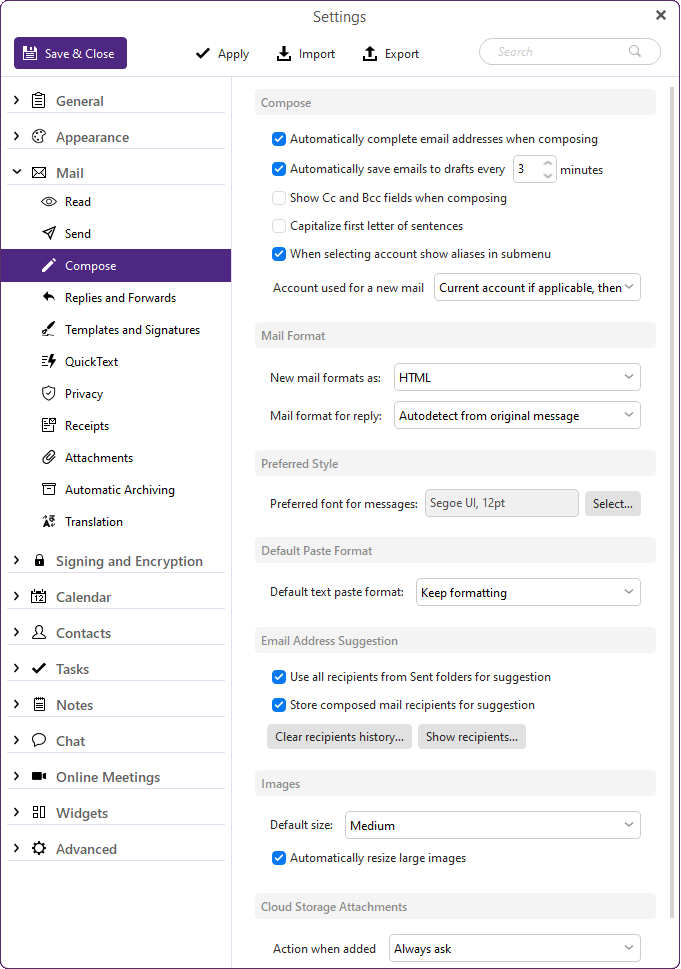
Figure. Compose item.
Replies and Forwards
Set the view of replies and forwarding messages.
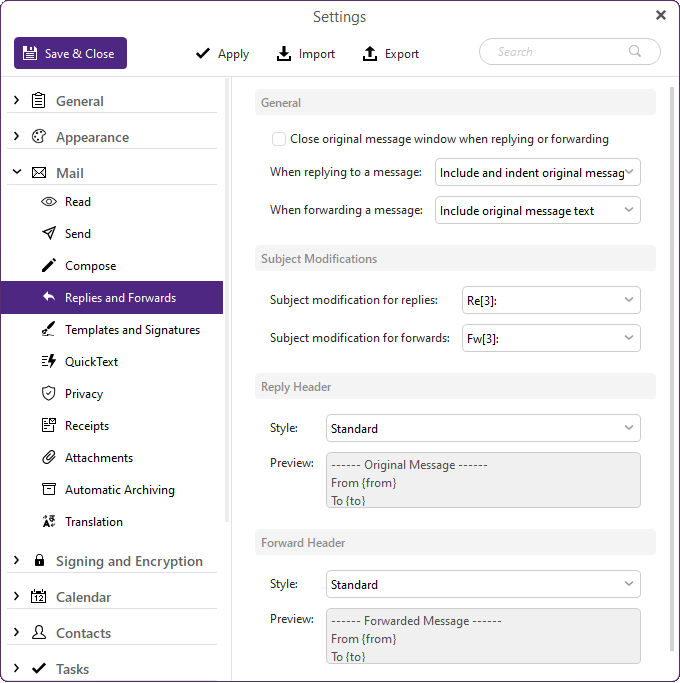
Figure. Replies and Forwards item.
Templates and Signatures
Create templates and signatures to speed up your work.
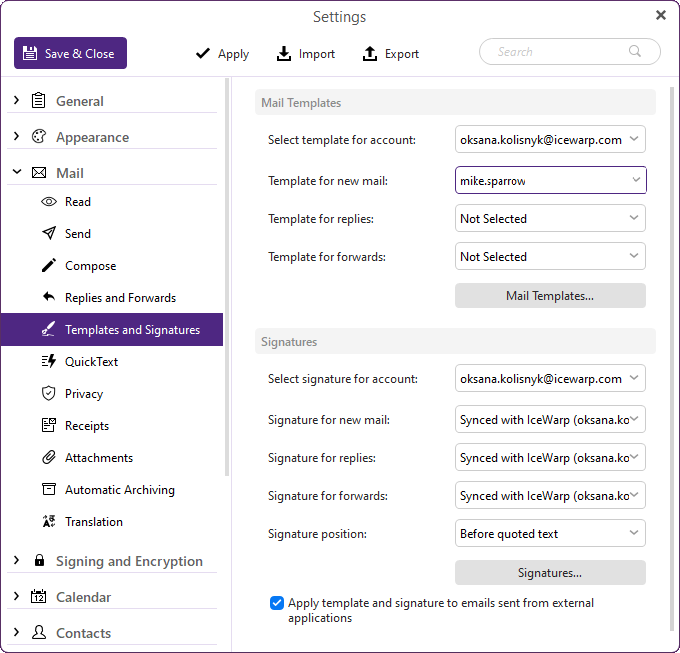
Figure. Templates and Signatures item.
You can create templates and signatures for different emails: new mail, reply, forwarding mail.
-
Click Mail Templates... (Signatures...) > New
-
Enter name, address of recipient, subject. Select font type and color. Add attachments and text.
-
Click Save.
-
Click
 to expand drop-down menu and select the name of the template. Click Save & Close.
 -
Select a signature position.
QuickText
Use quick text in your emails to avoid entering repeated data.
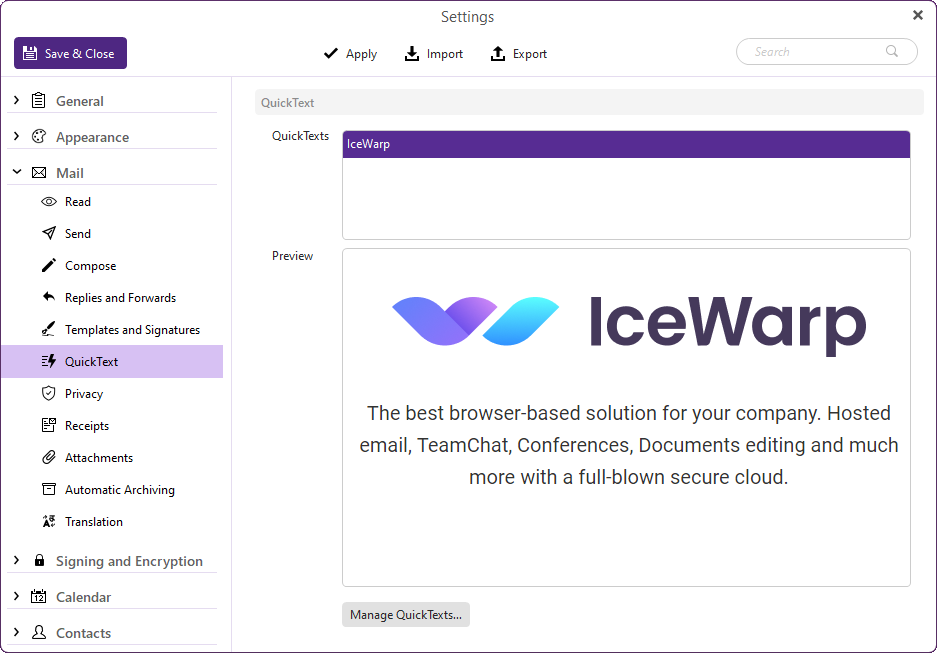
Figure. QuickText item.
-
Click Manage QuickTexts, to create a file with a text.
-
Enter name and text, click Save.
-
To use text in your email, right-click the email body and select Insert > QuickText > {name of created text}.
Privacy
In Privacy you can choose what to do with the external email content depending on the sender, manage email tracking and blacklist.
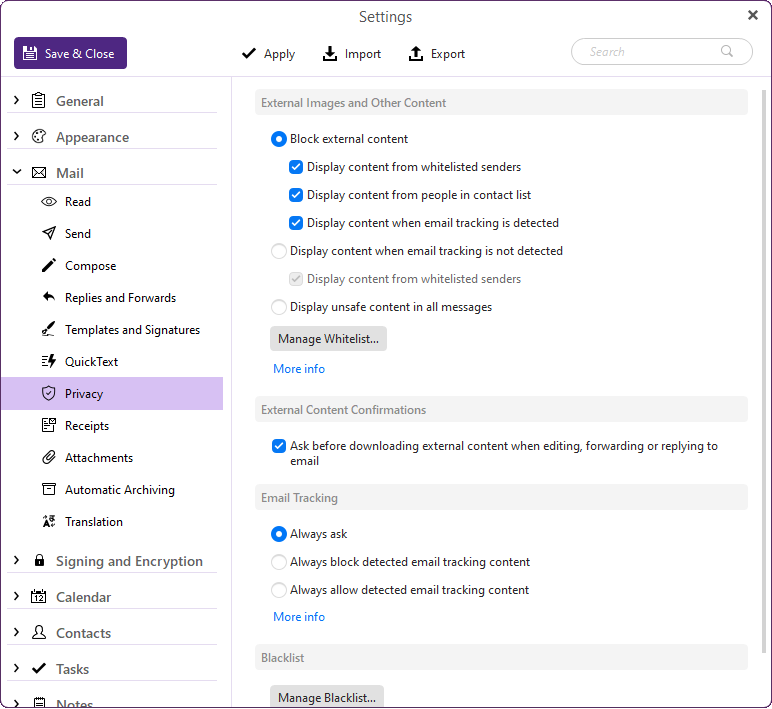
Figure. Privacy item.
Email Tracking is a method of email delivery monitoring.
If you allow email tracking, a sender might potentially see the details about you and your device: time when you opened the email, which app and device (phone or PC) you used, details about your actual location, IP address, etc. Unlike the read confirmations (which send confirmation only if the email was opened), Email Tracking is more invasive. You can check the following options:
-
Always ask. IceWarp Desktop Client will always ask if you want to have your emails tracked. Click Allow email tracking in the message under the email header:
 or ignore the message to prohibit.
 -
Always block detected email tracking content. IceWarp Desktop Client will automatically block email tracking.
-
Always allow detected email tracking content. The sender will get all tracking information once you open the email.
Receipts
In Receipts you can manage delivery and read request for the sent messages.
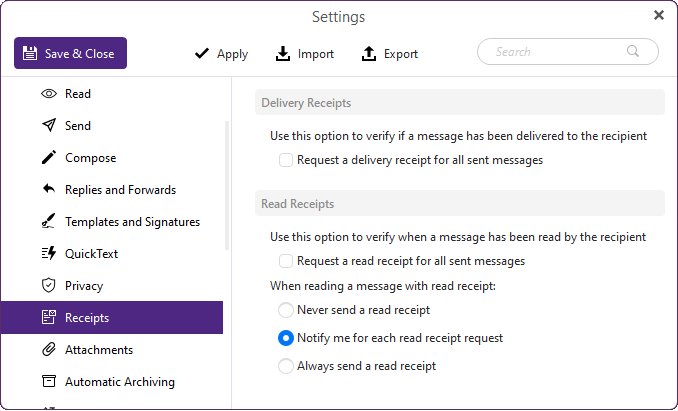
Figure. Receipts item.
Attachments
In Attachments you can add cloud storage providers and define actions for attachments.
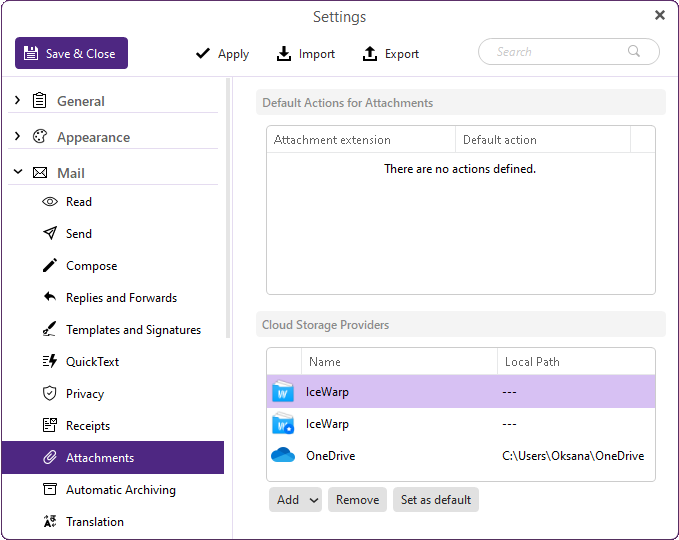
Figure. Attachments item.
-
Click Add.
-
Select a cloud storage from the list.
-
Enter User name and click OK.
Automatic Archiving
Use automatic archiving to accelerate your work with emails and save space on your devices.
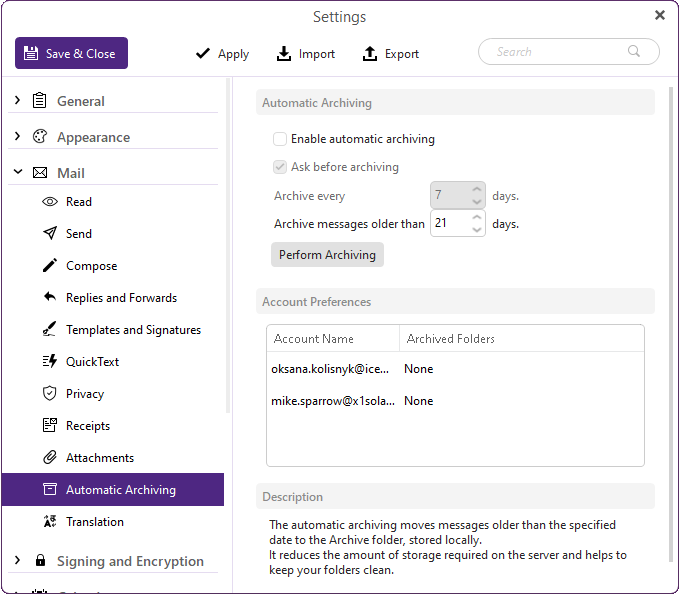
Figure. Automatic Archiving item.
-
Check Enable automatic archiving, set the time period and message age to archive the messages.
-
You will find archived emails in User Archive in the list of your other account folders.
-
Archived emails will be excluded from searches, unless you specify otherwise.
-
To return message from archive folder, drag & drop it to the other folder.
Translation
Translate messages to other languages.
![]()
Figure. Translation item.
-
Check Enable message translation.
-
Select a language that needs to be translated.
-
In the Translate to language column, select what language will be used for translation: the language of application or another language from the list.
-
Click Save & Close.

